You can see some examples of a correct Airqino installation in the Airqino’s manual.
The Airqino sensor needs to be exposed outside of the house.
💡 Please note that the power cord is approximately 9 meters long.
When you receive your sensor, you need to submit a ticket in the "Airqino Activation" form, using the email address that is associated with your license.
Fill the ticket form providing us all the requested information:
The Airqino device ID, that you can find on the label under the sensor (AIRQ_XXX);
The owner email address that you used to purchase the license and the sensor
The infrastructure email (optional) if you want to share your rewards with another email address
Once the Support team will confirm that the activation is completed, you need to associate your Airqino with the Ambios license and update the device location.
Log In or Sign Up the Ambios Onboarding App for Android or iOS
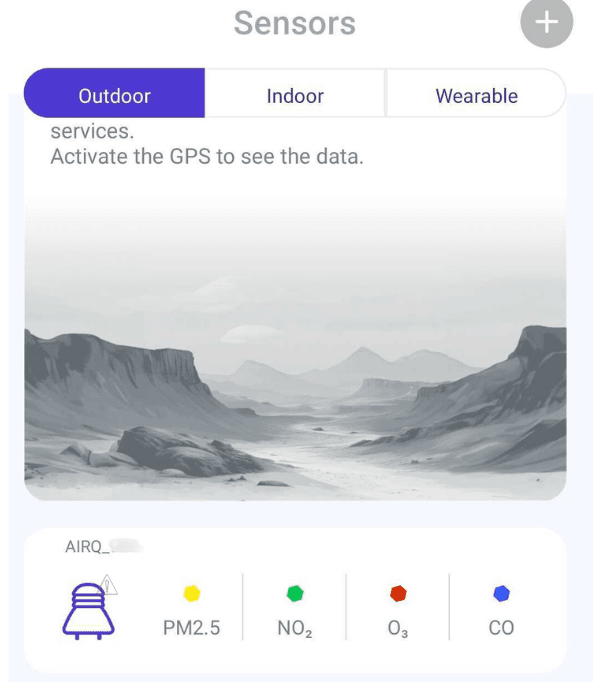
In the home page you will see your Airqino ID with a red triangle displayed near the device icon
Click on the sensor, and then on the "Fix it now" button in the card asking you to connect a license with the sensor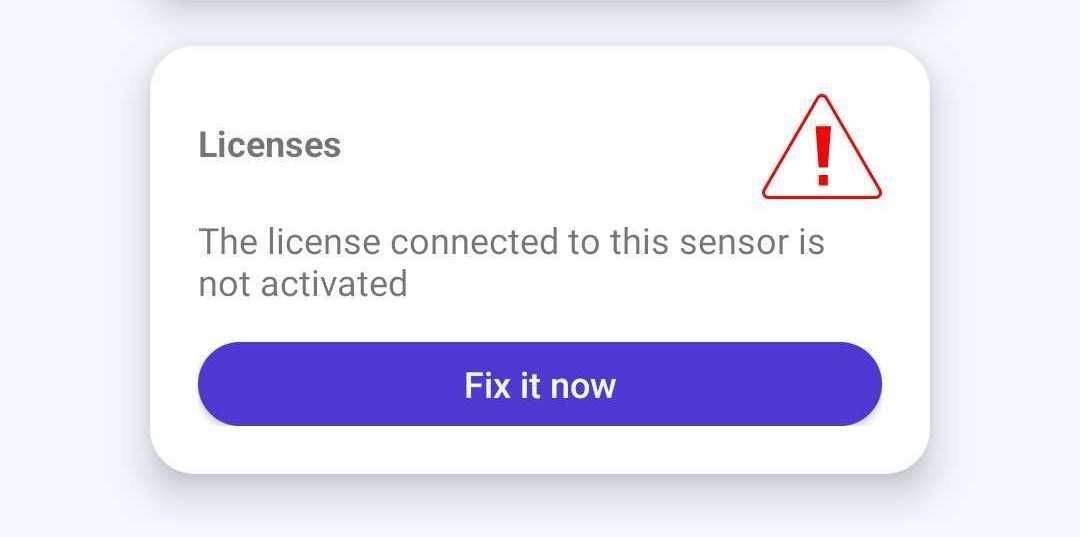
Your license will be successfully added to your sensor.
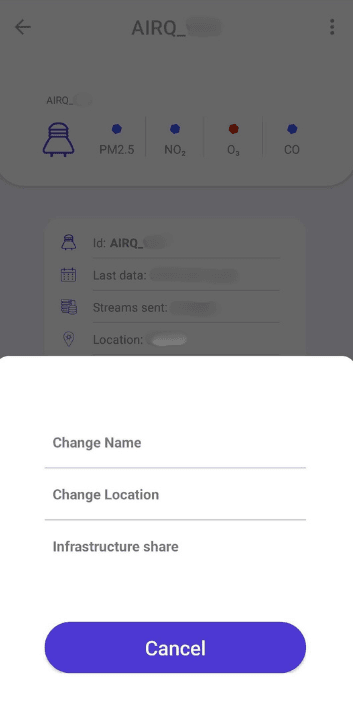
In order update the device Location please click on the the three dots and then on "Change Location"
Enter your address.
Drag the map to precisely mark the location of the device.
Confirm by clicking “Set location”.
Wait at least one hour to see the first data being sent to our Network.
Tips
⚠️ Make sure that you have performed the KYC! If not, you can complete it in your My Account section in the private area of the Ambios Network website or in the AmbiOn App Settings -> Profile -> My verification status
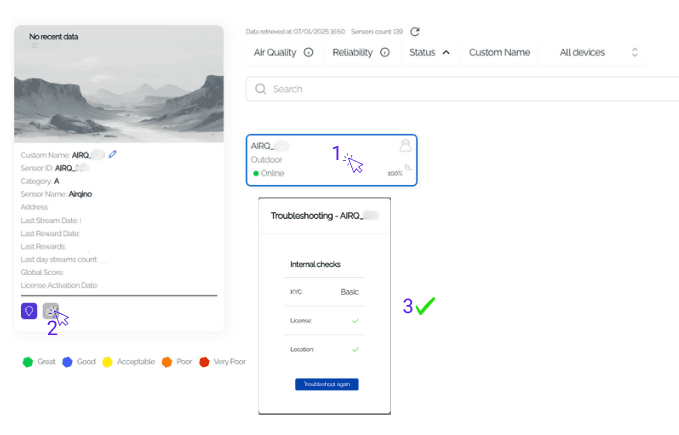
💡Use the Troubleshooting Tool in your My Account section to be sure that all the requirements are successfully completed
⚠️ The rewards are computed once a day, based on the total number of eligible streams that your device has sent to our Network the previous day from 00:00 CET to 24:00 CET.