Pre-requirements:
Verify your identity via KYC
Keep the IN5 near you and connect it to the power supply.
Connect your phone to WiFi. ⚠️ Important: the IN5 works only with 2.4 GHz WiFi
For iOS only: When the LED on the device starts blinking blue, copy the sensor ID from the WiFi list by going to settings > Wi-Fi (It will appear in this format: TAQ-IN5_xx:xx:xx:xx:yy:yy).
STEP 1
Log in or sign up on the Ambios Onboarding App for Android or iOS with your credentials.
⚠️ Note: Use the email address associated with your license purchase; otherwise, it will not appear in the app.
1. Press the top-right ”+” icon to display all devices.
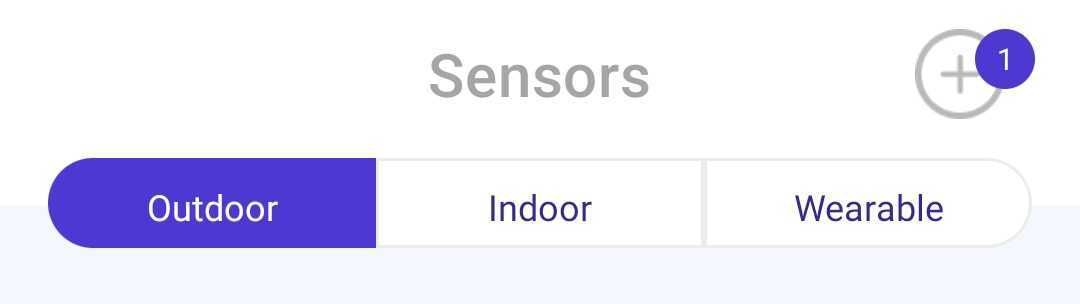
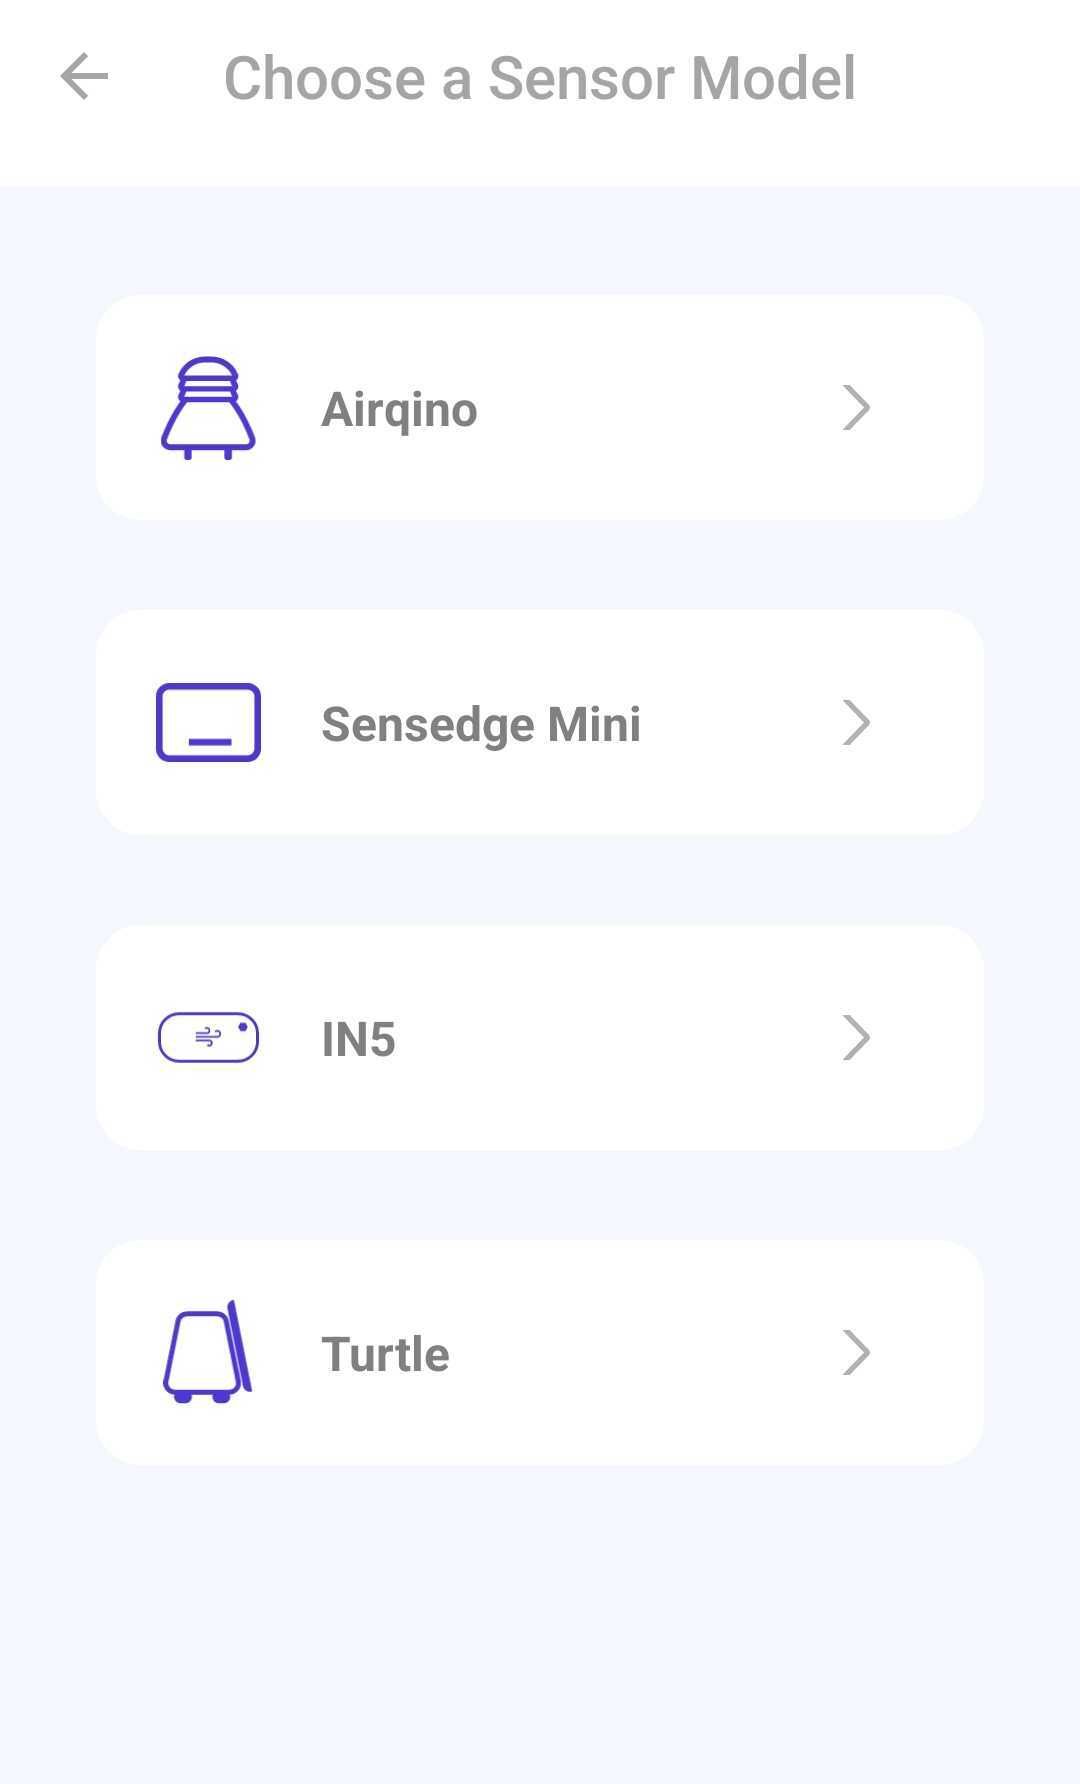
2. Select the IN5 device.
STEP 2
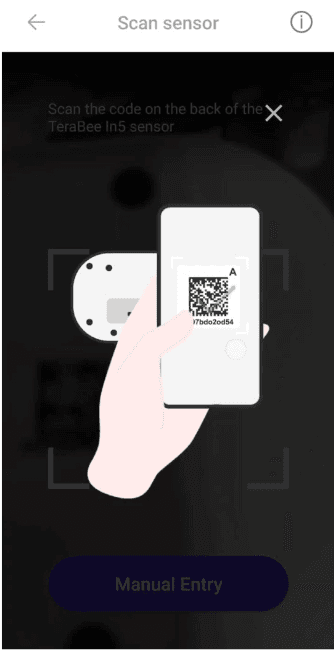
The app will request permission to use your camera to scan the IN5 SN (Serial Number).
1. Grant permission and scan the QR code on the back of the sensor.
⚠️ Tip: Ensure there’s enough light when scanning. If scanning fails, return to the previous step and select “Manual Entry”. Enter the IN5 SN located on the back of the sensor or the label on the side of the box (e.g., 123ccc4c123).
2. You will see the window “Add sensor”, displaying your IN5 SN. Click “Proceed”.
STEP 3
When prompted to “Set sensor location”, enter your address.
Drag the map to mark the exact location of the device.
Click “Set location” to confirm.
STEP 4
Double-check the details in the “Summary” window.
Click “Proceed”.
Wait for the license activation to complete, then click “Setup Sensor WiFi” in the pop-up window.
STEP 5
For Android:
The app will connect to your sensor and display the device code.
Click “Connect” and select your WiFi network.
Enter your WiFi password and click “Confirm”.

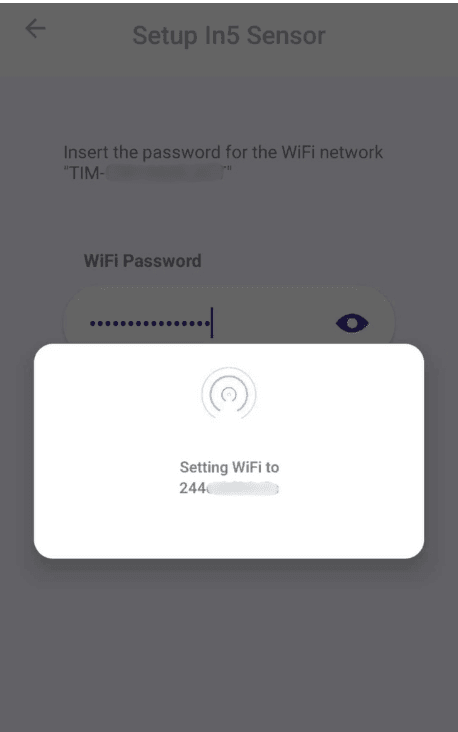
Please be patient. This process may take a few minutes.
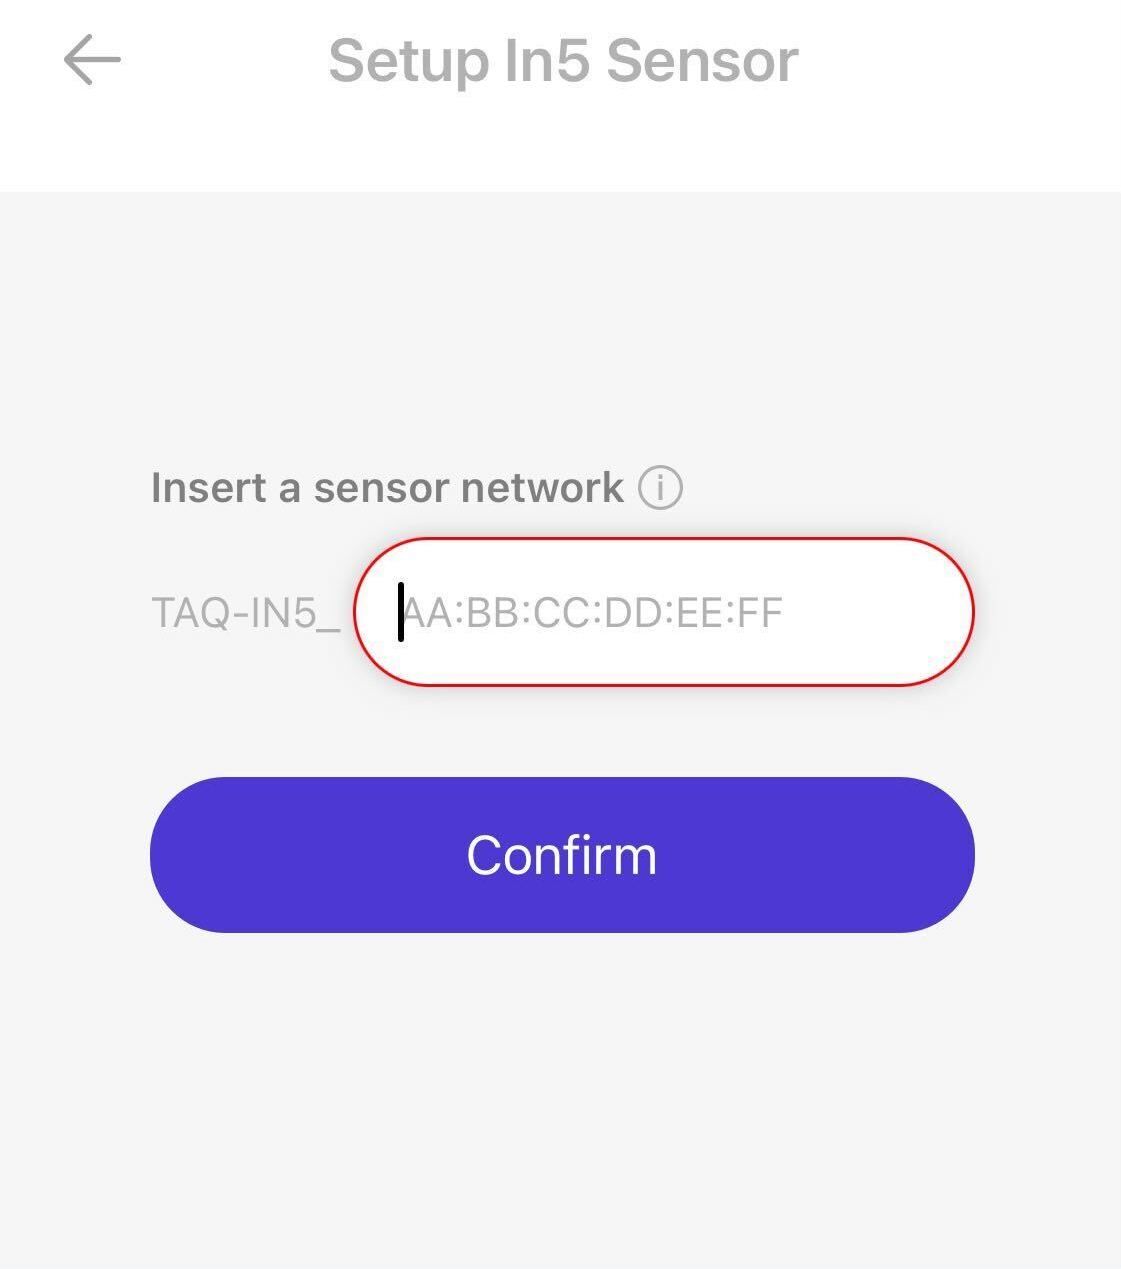
For iOS:
1. Paste the sensor ID copied from the WiFi list (xx:xx:xx:xx:yy:yy).
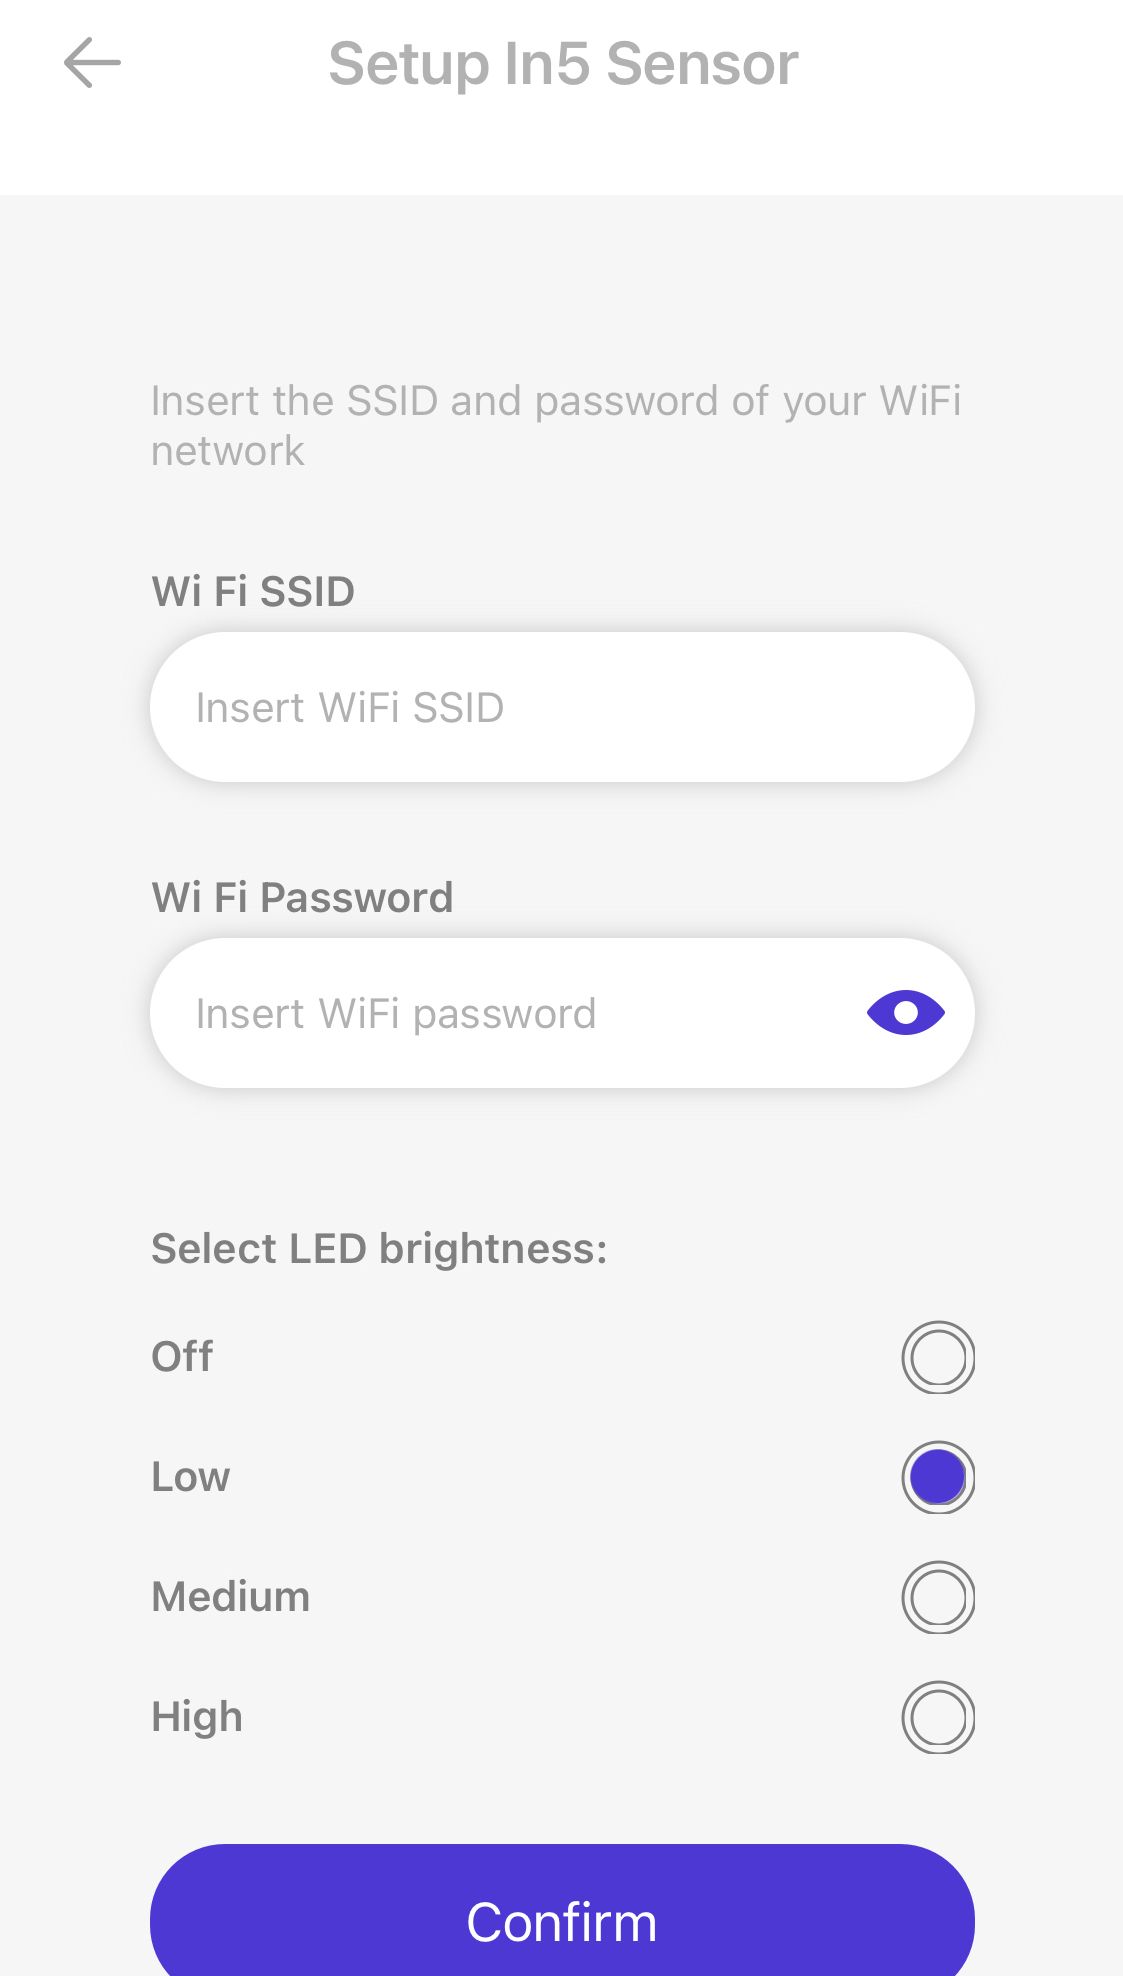
2. Enter the following:
WiFi SSID: Your Internet connection name.
WiFi Password: Your Internet connection password.
3. Click “Confirm”.
A pop-up will confirm the setup completion, and you’ll be redirected to the app’s home page.
This may take a few minutes. Please be patient.
STEP 6
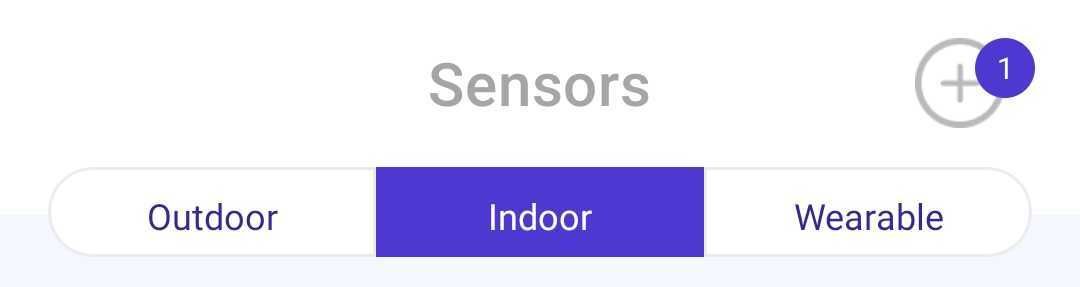
To view your IN5:
Click on the “Indoor” tab.
Select your device.
⚠️ Note: A “Setup & Configuration” box will appear after configuration. It will disappear once the device sends its first data to the network. Allow at least an hour before acting on suggestions in this box.
⚠️ The sensor rewards are sent once a day in your “My Wallet” section of the Ambios Network website, based on the total number of eligible streams that your device has sent to our Network the previous day from 00:00 CET to 24:00 CET.
IN5 Troubleshooting
Changing WiFi
If you need to change the WiFi for your IN5:
Go to the Sensor tab, then select “Indoor”.
Click on your IN5 device.
Click the three dots in the top-right corner and select “Setup WiFi”.
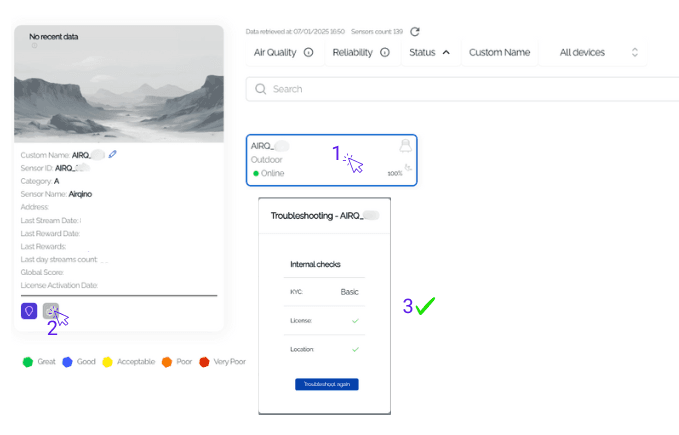
Device Not Sending Data
If your IN5 is not sending data to Ambios Network, please be sure:
that you have performed the KYC. If not, you can complete it in your My Account section in the private area of the Ambios Network website or in the AmbiOn App Settings -> Profile -> My verification status
that you have used the Troubleshooting Tool in your My Account section to check that all the requirements are successfully completed